
Understanding Vapor Barrier Installation
What is a Vapor Barrier?
A vapor barrier is a material designed to prevent moisture infiltration from the ground or exterior into the enclosed environments of a home, particularly in crawl spaces and basements. Typically made from impermeable materials, vapor barriers are crucial in maintaining a balanced humidity level and protecting the structural integrity of your home. They are often composed of polyethylene films, which are durable and effective against moisture vapor transfer.
Importance of Vapor Barrier Installation
The installation of a vapor barrier is vital for several reasons. It protects wood beams and foundation walls from moisture that can lead to rot, decay, and mold growth. A proper vapor barrier can reduce the risk of allergens that can affect indoor air quality, ensuring a healthier living environment. Furthermore, it can lead to lower energy costs by enhancing the efficiency of heating and cooling systems, thus making your home more comfortable throughout the year. If you’re contemplating Vapor Barrier Installation, understanding its importance is the first step toward a successful project.
Common Materials Used
The materials used for vapor barriers play a significant role in their effectiveness. The most common materials include:
- Polyethylene: The most widely used material, it comes in various thicknesses and forms a reasonably effective barrier against moisture.
- Aluminum Foil: This option acts as a reflective barrier which is also effective in controlling moisture.
- Vapor-Retardant Membranes: These are specially designed products that offer higher moisture resistance and durability, useful in areas with extreme humidity.
- Spray Foam Insulation: While not a traditional barrier, it can serve a dual purpose of insulation and moisture control when installed adequately.
Preparation for Vapor Barrier Installation
Assessing Your Crawl Space
Before installation, evaluating your crawl space is crucial. Check the existing moisture levels, the presence of standing water, and any signs of pests or mold. Measuring the dimensions of the crawl space accurately is also essential for purchasing the correct amount of vapor barrier material. Furthermore, assess the overall condition of your foundation and insulation, as any structural issues should be addressed prior to installation.
Necessary Tools for Installation
Having the right tools at your disposal is key to a successful vapor barrier installation. Essential tools include:
- Utility knife for cutting materials.
- Measuring tape to ensure accurate dimensions.
- Stapler or adhesive for securing the material.
- Hammer or nails, especially if installing a more rigid barrier.
- Safety equipment, including gloves and masks to protect against dust and debris during installation.
Cleaning and Prepping the Area
Prior to laying down the vapor barrier, it is important to clean the crawl space thoroughly. Remove any debris, dirt, or organic matter that could serve as a food source for pests or contribute to mold growth. Additionally, addressing any leaks or water intrusion sources should be a priority. This preparation sets the stage for a successful installation by creating a clean, dry environment conducive to moisture control.
Step-by-Step Vapor Barrier Installation
Measuring and Cutting the Barrier
Begin by measuring the dimensions of your crawl space carefully. Cut the vapor barrier to size, allowing extra material for securing it to the walls and seams. It’s best practice to allow at least an additional 12 inches over the edges to ensure complete coverage.
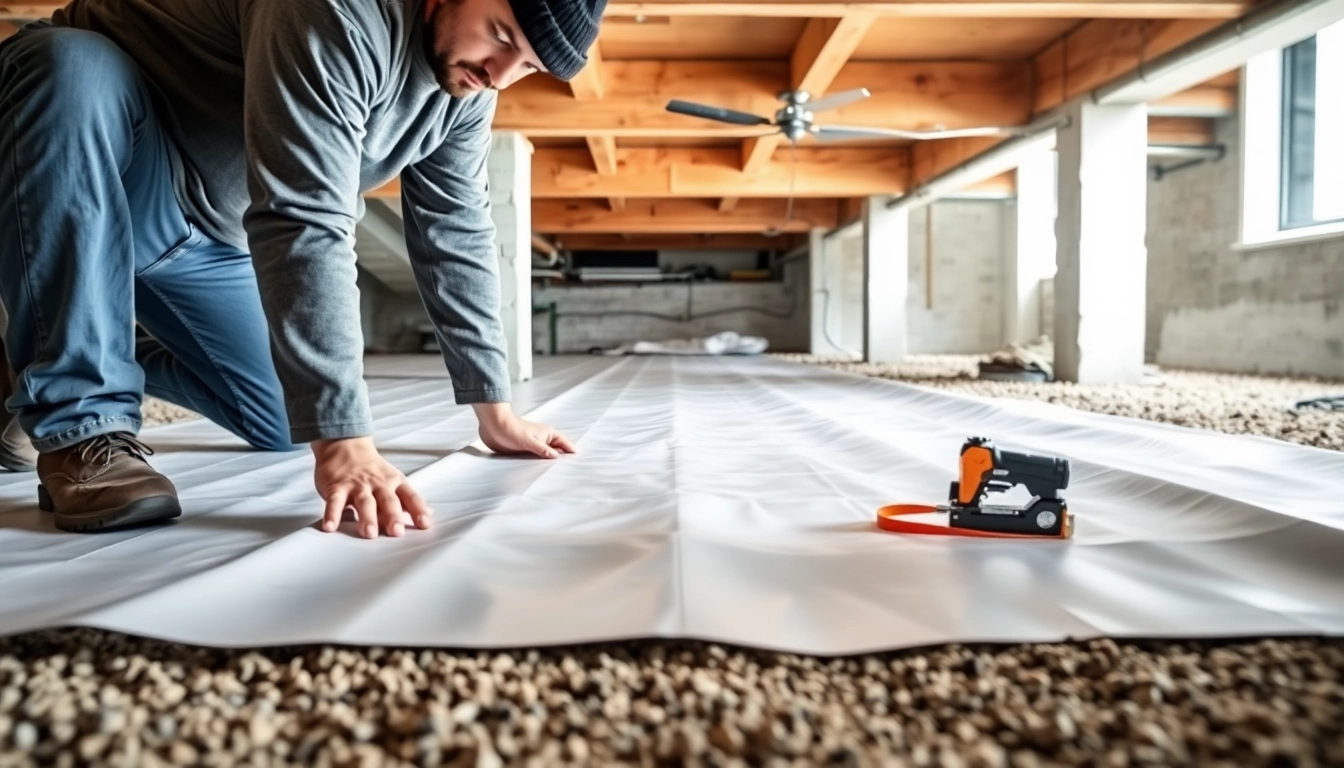
Securing the Vapor Barrier
After cutting, lay the vapor barrier in the crawl space, starting at one corner and working toward the opposite end. Secure it to the walls using staples, adhesive, or nails, ensuring that it is laid flat without wrinkles. Overlap seams by at least 12 inches and seal them with tape to create an airtight seal.
Inspecting for Gaps and Sealing
Once the vapor barrier is secured, inspect the entire surface for any gaps or areas where moisture could potentially seep through. Use additional tape or sealant to secure any loose edges and ensure a continuous barrier. Proper sealing is critical; even small gaps can undermine the integrity of the entire vapor barrier system.
Post-Installation Considerations
Maintaining Your Vapor Barrier
After installation, ongoing maintenance is key to ensuring the effectiveness of your vapor barrier. Regularly check for signs of damage, including rips, tears, or mold growth. Keeping the crawl space dry is equally important—make sure gutters and downspouts direct water away from your home’s foundation.
Signs of Potential Issues
Be vigilant for signs indicating potential issues under your vapor barrier. These can include:
- Unusual odors that might indicate mold growth.
- Visible moisture or standing water that hints at leaks.
- Increased pest activity, which could signal a breeding ground.
Addressing these problems promptly can save you from more extensive repairs down the line.
Regular Inspections and Upkeep
Schedule regular inspections of your crawl space—ideally every six months. Check the integrity of the vapor barrier, ensuring there are no new leaks or damage caused by environmental factors or pests. Early detection of any issues can help you maintain a safe, dry home.
FAQs About Vapor Barrier Installation
How long does a vapor barrier last?
A well-installed vapor barrier can last over 20 years, depending on the material and environmental conditions.
Can I install a vapor barrier myself?
Yes, if you have basic DIY skills and tools, installing a vapor barrier is manageable with proper guidance.
What are the benefits of vapor barrier installation?
A vapor barrier helps prevent moisture buildup, reducing mold growth and protecting structural elements.
Do I need a vapor barrier in every crawl space?
If your crawl space is prone to moisture, installing a vapor barrier is essential for long-term protection.
What materials should I consider for a vapor barrier?
Common materials include polyethylene sheets, aluminum foil, and specialized vapor-retardant membranes.